11 Christmas Village Display Ideas for Mantels & Sideboards (2026)
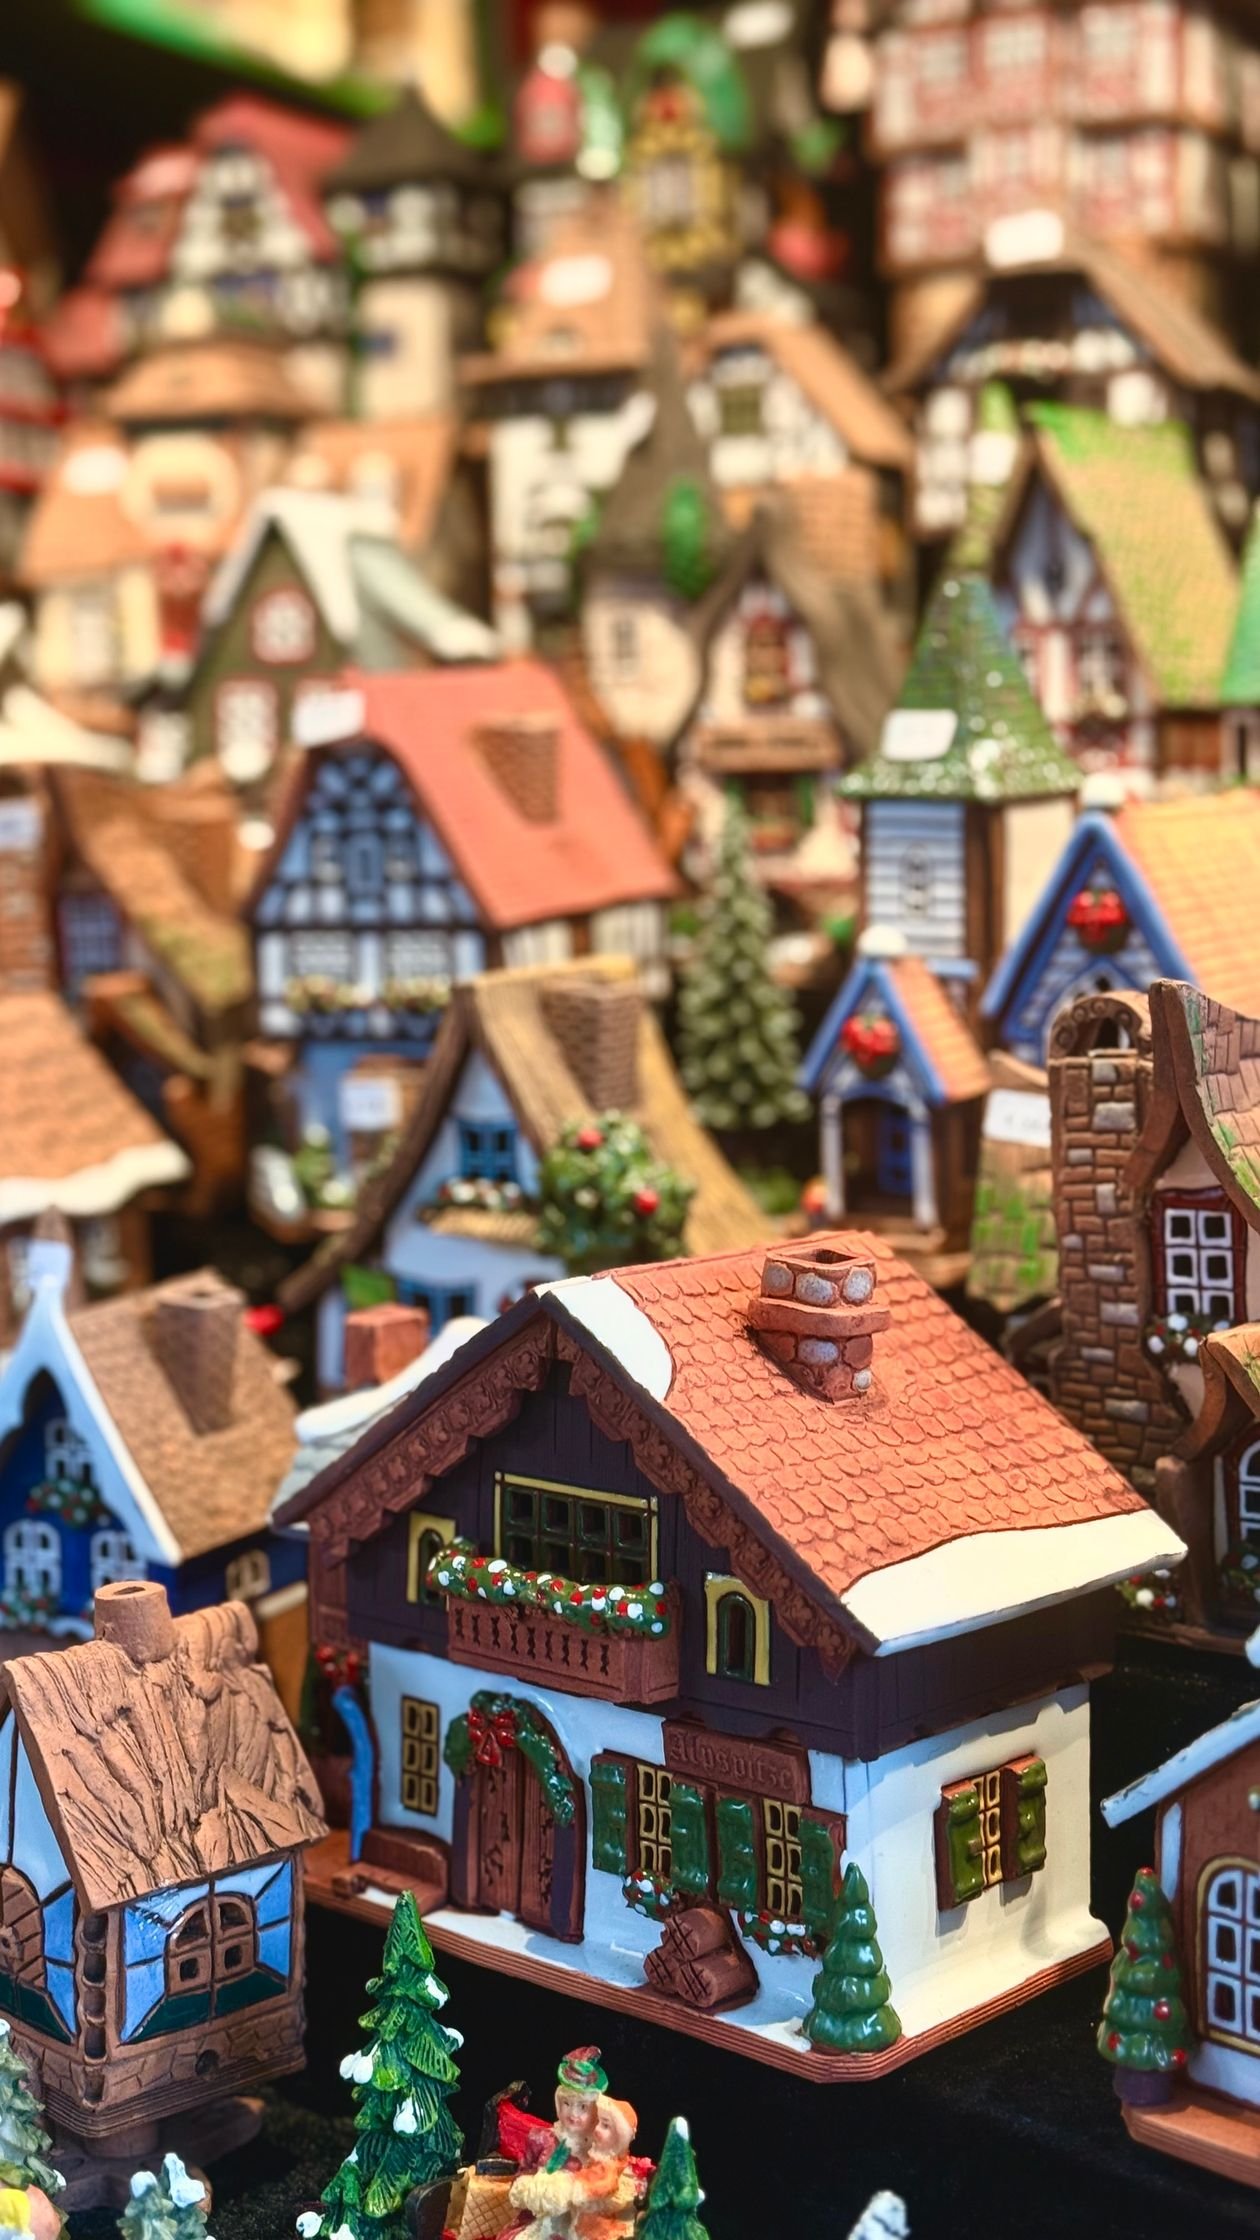
A lit Christmas village is one of the few decorations that stops people mid-step. There’s something about tiny glowing windows on a dark December evening that turns a mantel or sideboard into a whole little world — and unlike the tree, it asks for almost no floor space. Whether you inherited a full porcelain set from your grandmother or you’re starting with three ceramic houses from a craft store, the display around them matters as much as the pieces.
The secret to a village that looks collected rather than cluttered is treating it like a landscape, not a lineup. Give it a base, vary the heights, light it from within, and frame the scene so the eye travels across it. These eleven ideas will help you style a village worth staring at — and saving.
1. Start with One Hero Piece
Every great village has a centerpiece the eye lands on first — a church with a steeple, a grand inn, or the tallest house you own. Place that hero piece slightly off-center rather than dead middle; it feels more natural, like a real town that grew around a landmark instead of being arranged.
Build outward from there with smaller houses, so the scene tapers at the edges. If your collection is small, the hero piece matters even more — one beautiful church flanked by two cottages reads as intentional, while six same-size houses in a row reads as a shelf that needs dusting.
2. Build on a Faux-Snow Base
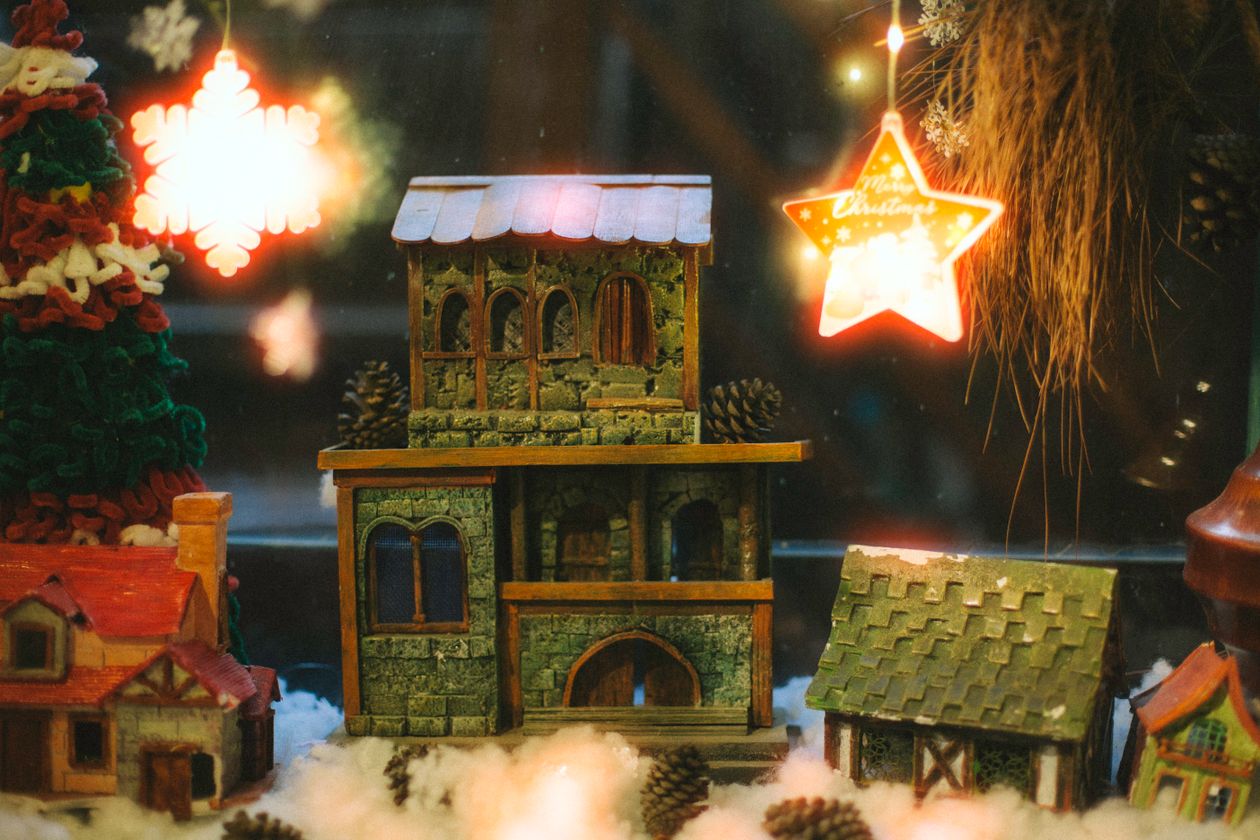
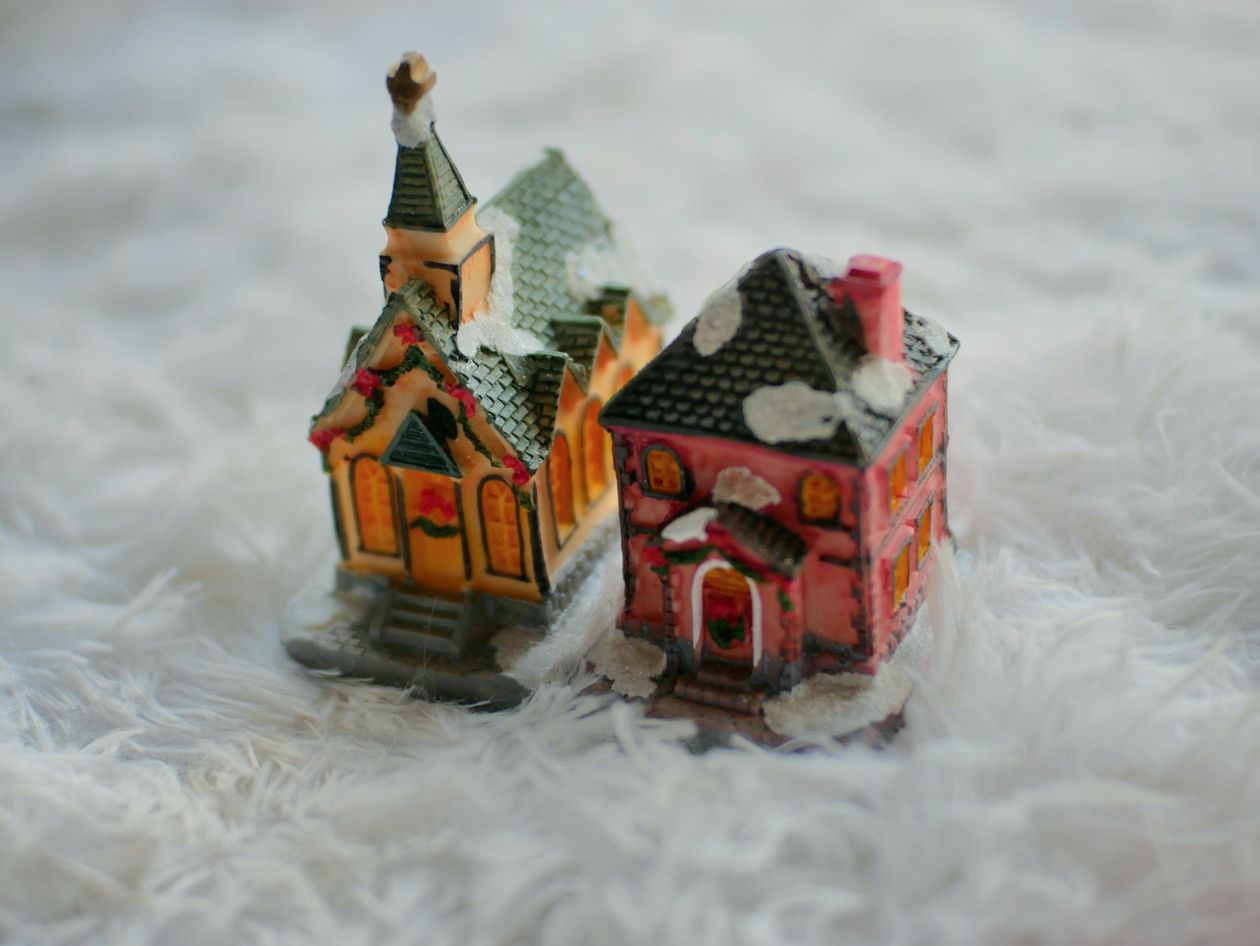
A village sitting directly on wood looks unfinished; a village on snow looks like a place. Roll out a white faux-fur runner, a quilted snow blanket, or even a simple white tablecloth with the edges tucked under, and set every piece on top of it. The white base hides cords, unifies mismatched house styles, and bounces the warm light upward.
Let the snow drape a few inches over the mantel or sideboard edge for softness. If you have garland framing the scene, tuck the snow’s back edge under it so the whole display reads as one continuous landscape rather than props on furniture.
3. Layer Heights with Risers
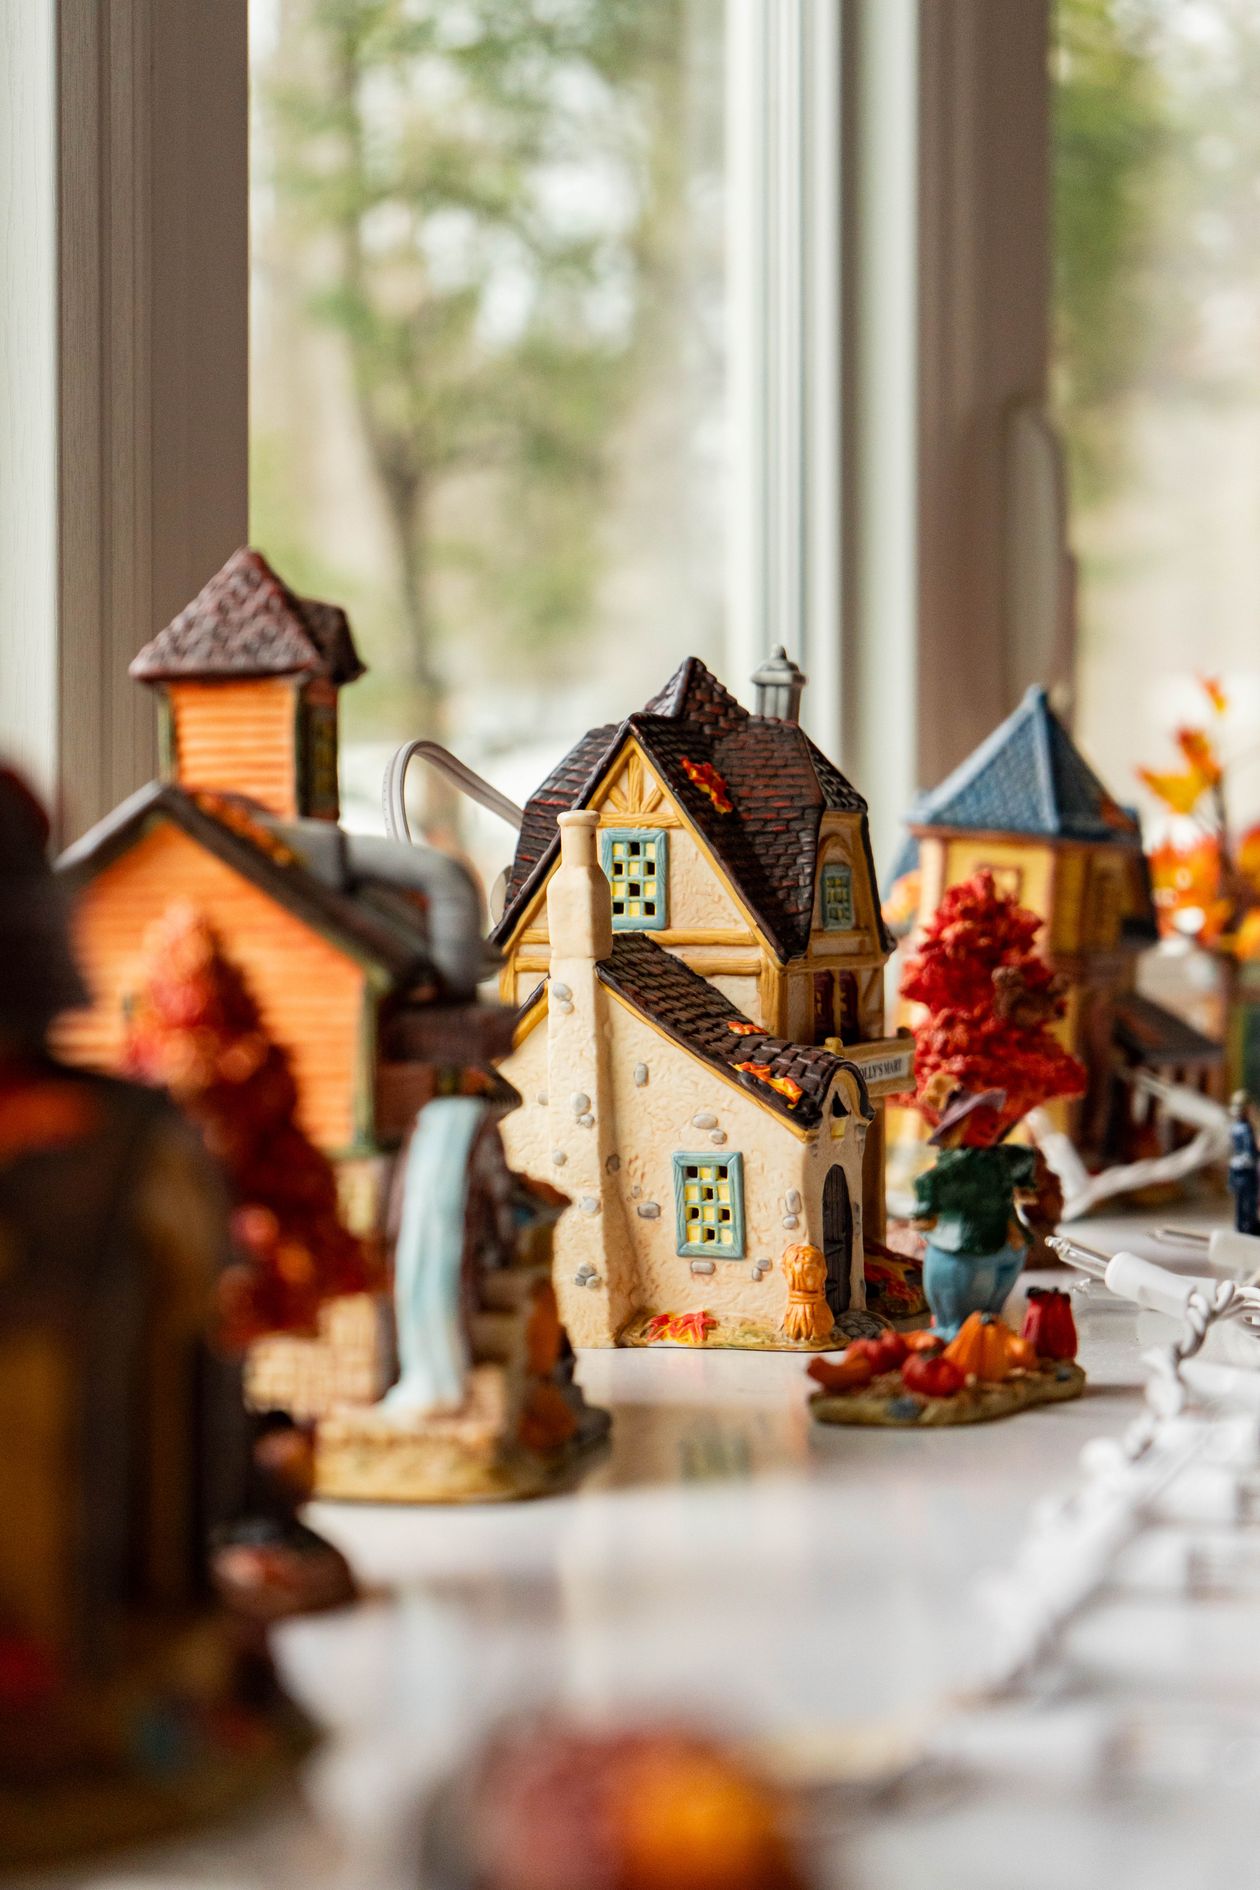
Flat villages look flat. Tuck sturdy boxes, overturned bowls, or stacks of books under the snow at the back of the display to create a gentle hill, then set houses at different depths and elevations. The back row rises above the front, just like a real town climbing a slope.
Keep the tallest pieces and risers toward the back so nothing blocks the lit windows in front. Even two inches of lift changes everything — suddenly the village has a skyline instead of a horizon line, and every house gets its moment.
4. Add a Mirror "Lake"
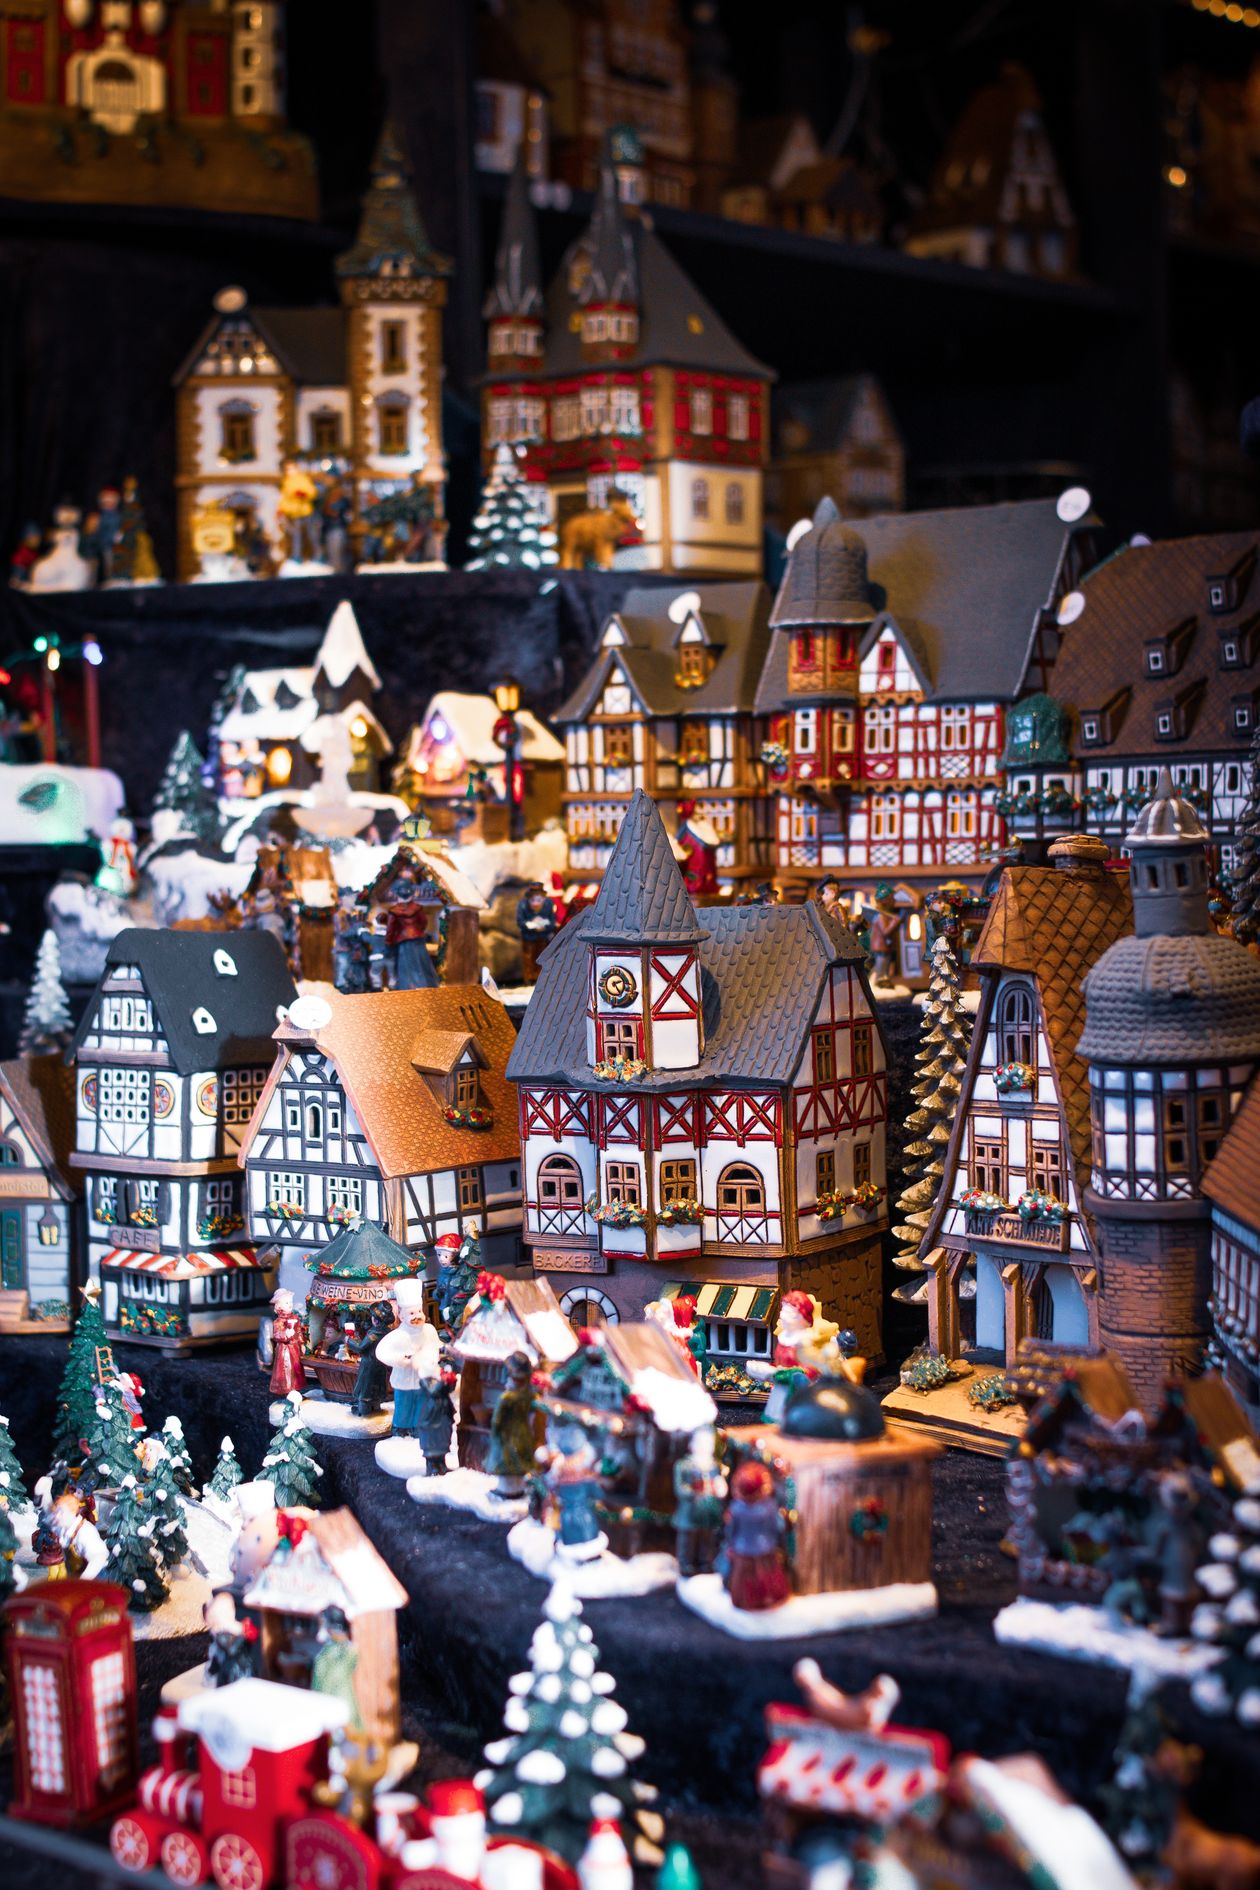
A small round or oval mirror laid flat in the snow becomes a frozen pond, and it doubles the light in your display for about five dollars. Set it slightly forward of center, then angle two or three houses so their lit windows face it — the reflections make the whole scene feel twice as deep.
Surround the mirror’s edge with a pinch of faux snow or tiny bottle-brush trees so the rim disappears. In the evening, with the room lights low, that little mirror does more atmosphere work than any other single trick in this list.
5. Light Every House from Within
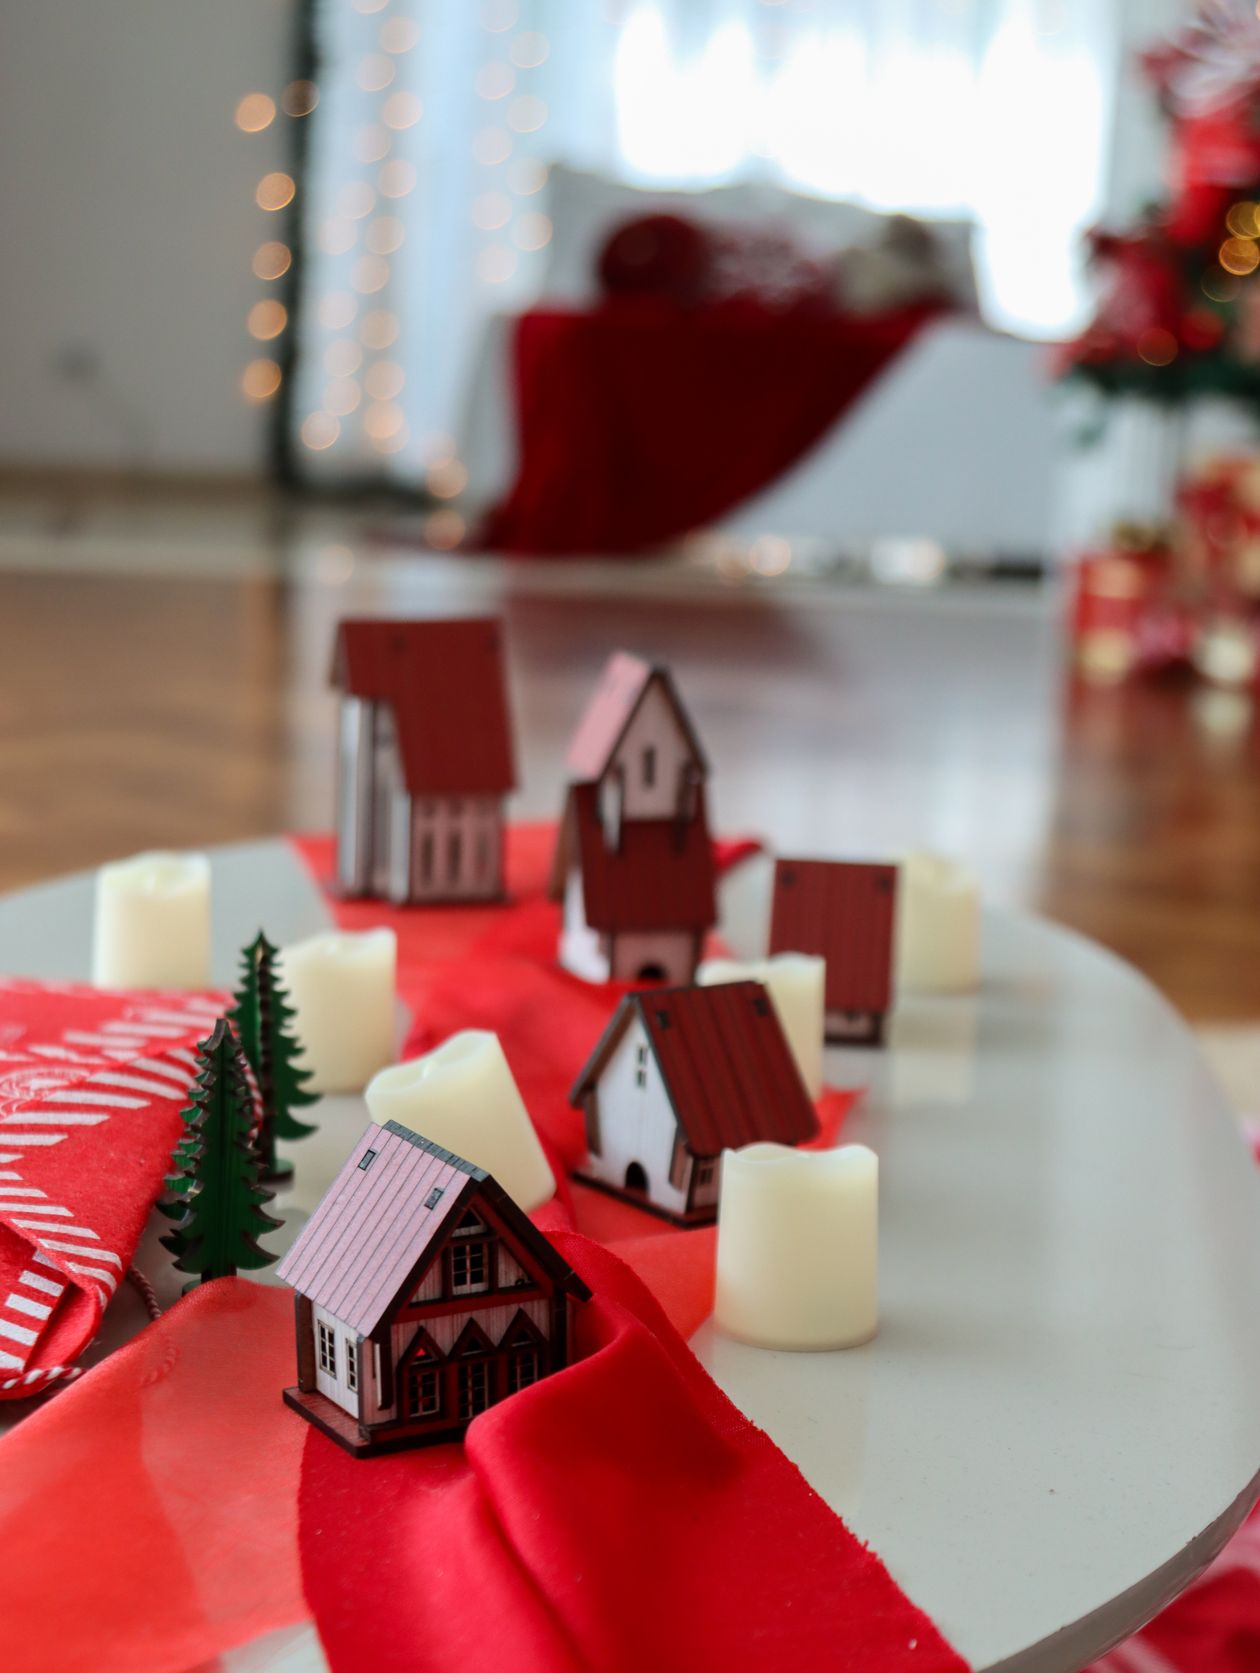
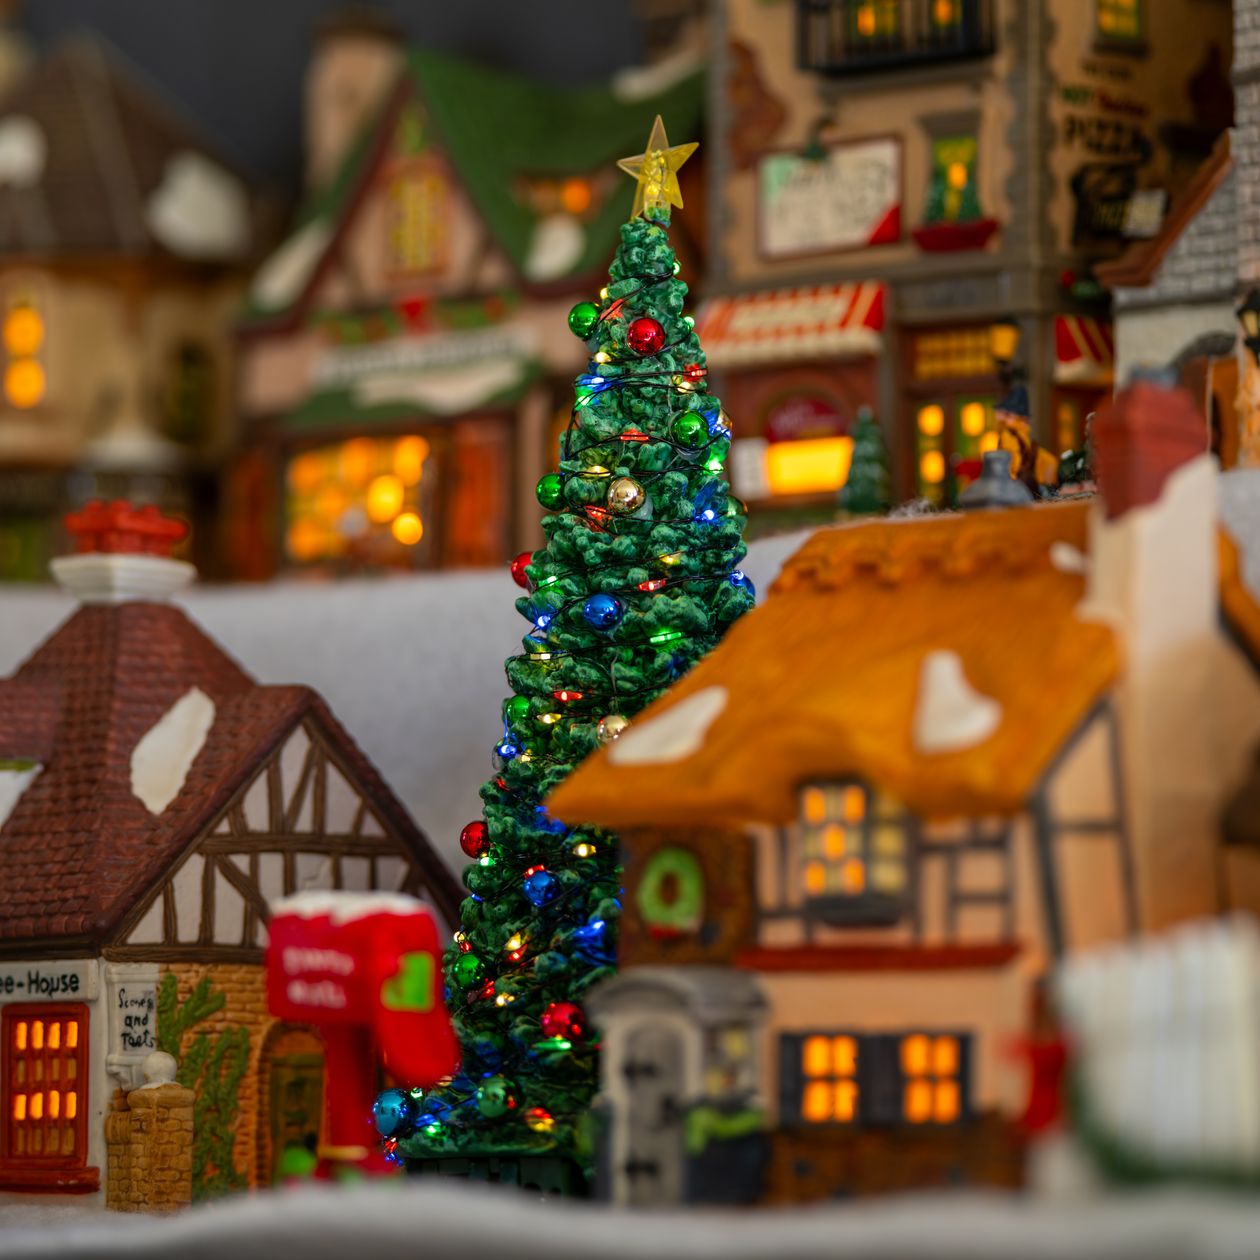
A village that’s only lit by the room looks like a daytime scene; a village lit from within looks like evening, which is when villages are magical. Use warm-white micro LED string lights — the kind on thin copper wire — and coil a few inches inside each house, or tuck battery tea lights behind the windows.
Keep all the light the same warm temperature so the scene feels cohesive. Cool-white strands mixed with warm ones will make half your village look like a different season. One set of copper-wire lights, snaked behind the whole row, often covers everything.
6. Frame It with Garland
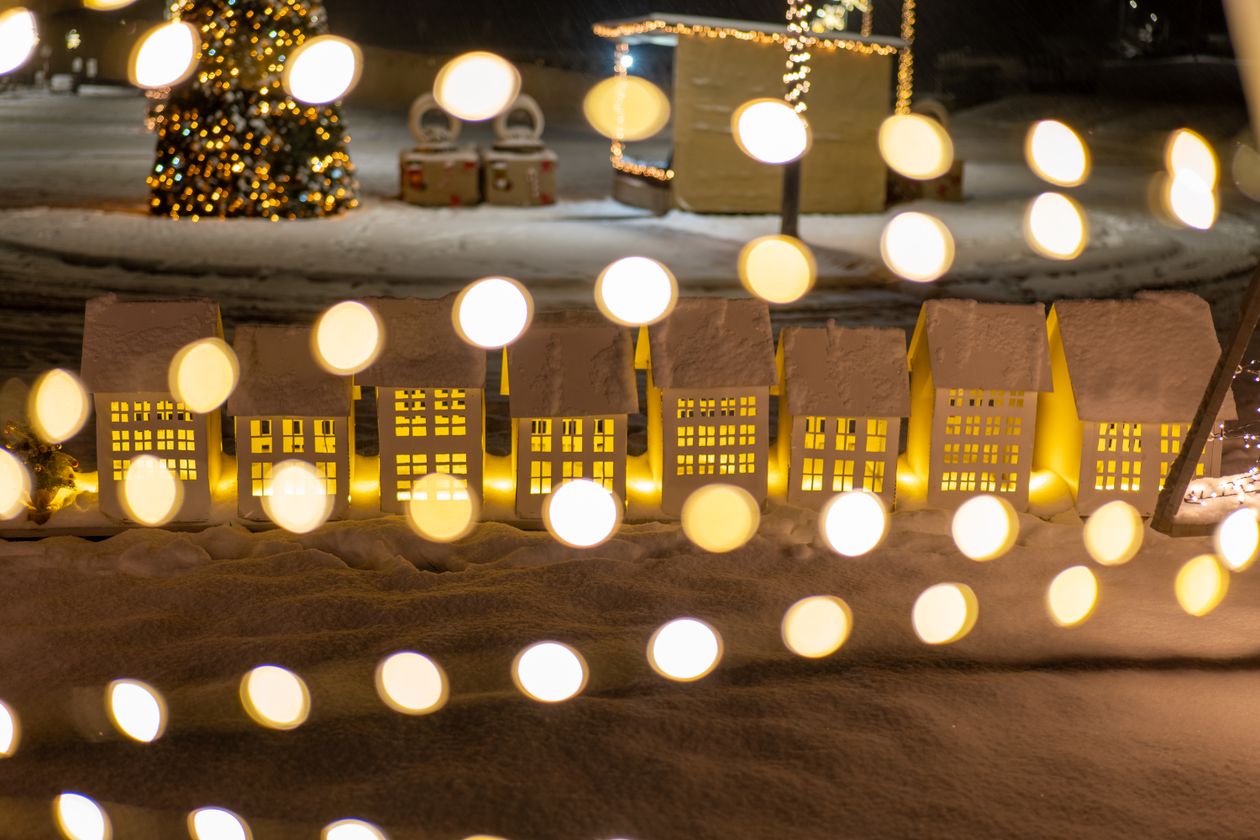
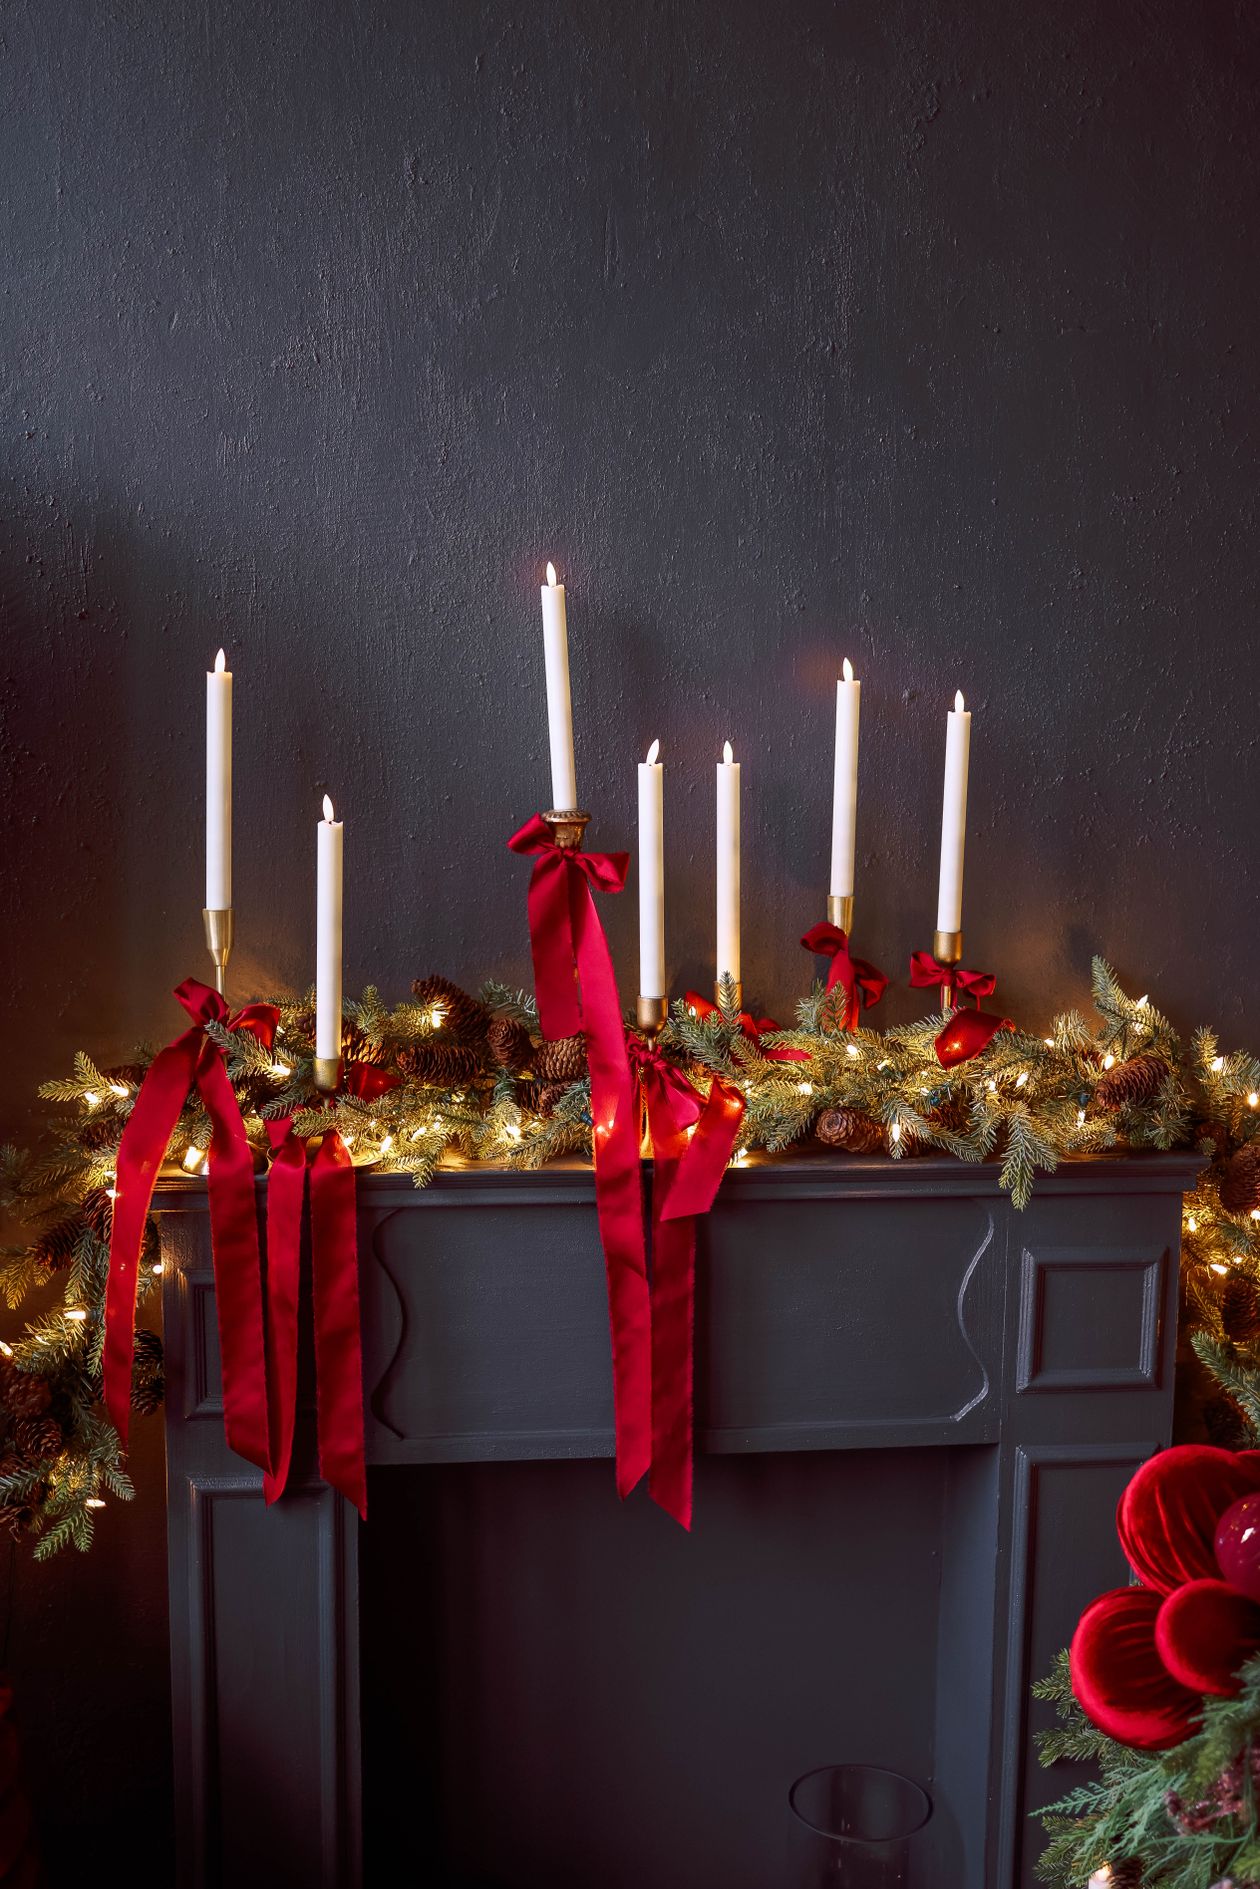
A village floating alone on a long mantel can feel lost; a garland frame gives it a stage. Drape a cedar or pine garland along the mantel edge in front of the village, or arch it across the top of a sideboard mirror behind the scene. The greenery creates a boundary that tells the eye where the world begins and ends.
Weave a few warm lights through the garland so it glows in the same family as the houses. If your village is on a sideboard under a mirror, let the garland’s reflection double the greenery — free decor, courtesy of physics.
7. Make It an Advent Countdown
Give the village a job beyond looking pretty: hide a tiny numbered tag or miniature gift near a different house each day of December, and let the kids find it. The village becomes an advent calendar with a built-in daily ritual, and children who might otherwise ignore the decor will study it every morning.
Keep the daily tokens small — a wrapped chocolate, a tiny scroll with an activity — so they don’t visually clutter the scene. Tuck each one just behind a rooftop or inside a doorway, and move a different house’s “spotlight” by shifting one tea light each night.
8. Plant a Bottle-Brush Tree Forest
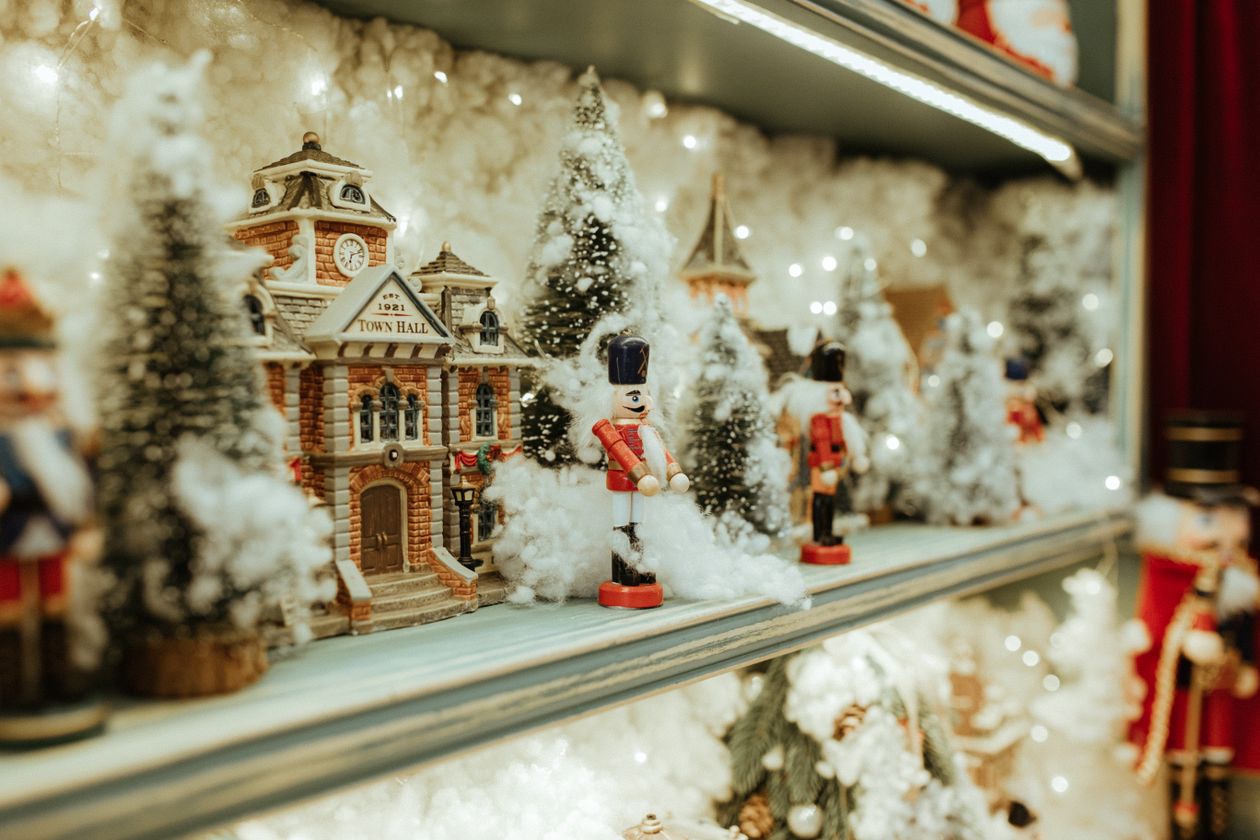
No village is complete without trees, and bottle-brush trees are the classic for a reason: they’re cheap, they come in every size, and their snowy tips echo the faux-snow base. Cluster them in odd numbers between houses rather than spacing them evenly — nature doesn’t plant in rows.
Mix sizes deliberately: tall trees behind the back row, medium ones between houses, and a few tiny ones at the very front for forced perspective. A light dusting of fake snow spray on plain green trees ties them to the scene in seconds.
9. Style a Sideboard Runner Scene
A sideboard gives you something a mantel doesn’t: depth. Run the village along the back edge and use the front of the sideboard for a complementary layer — a low runner of greenery, a few oversized ornaments, or a row of pillar candles in glass hurricanes. The village stays the star; the foreground becomes its audience.
Keep the foreground pieces low and simple so they frame rather than compete. Three chunky candles at staggered heights, or a single long low arrangement of pine and berries, is plenty. The contrast between the tiny detailed world in back and the calm foreground is what makes sideboard villages so satisfying.
10. Add Figurines for a Story
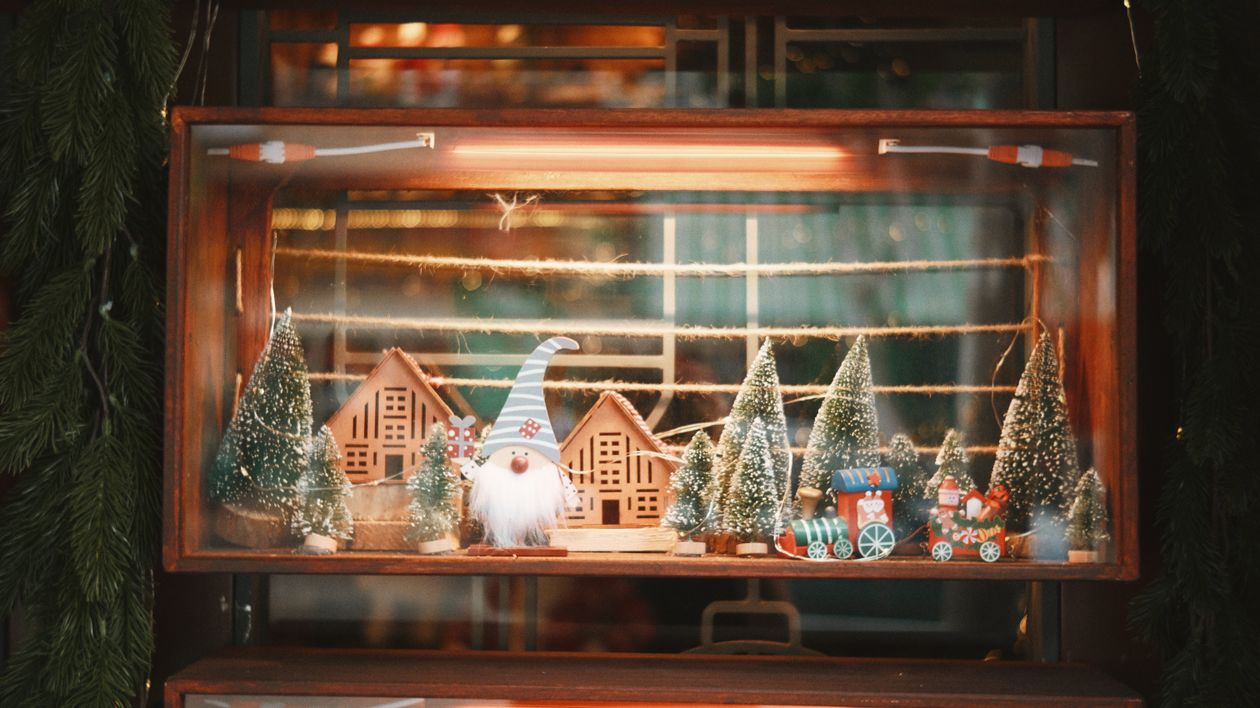
A village with no people is a ghost town. A few carolers, a lamplighter, kids with a sled, or a tiny dog turn a collection of buildings into a narrative, and they’re usually the pieces guests pick up and smile at. Place figures where they’d logically be: carolers by the church, shoppers near the inn, a skater by the mirror pond.
Less is more — five well-placed figures beat twenty scattered ones. And keep them in scale with your houses; an oversized Santa looming over cottages breaks the illusion faster than anything else in this list.
11. Pack It Away Like You'll Rebuild It
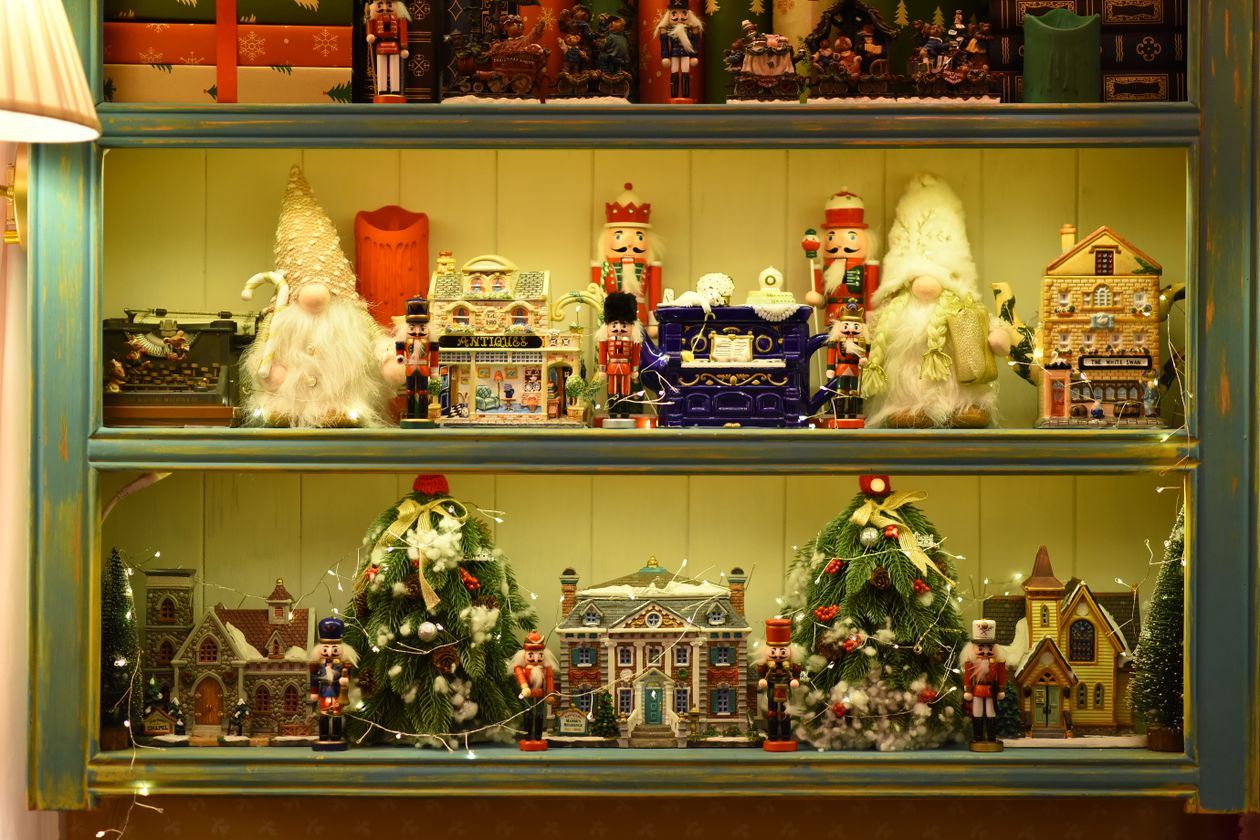
Future you will thank present you: photograph the finished village before taking it down, then pack houses in their original boxes with the photo taped inside the storage bin lid. Wrap each lit house with its light strand loosely coiled inside, so next December you unwrap rather than untangle.
Store the faux snow, risers, mirror, and trees together in one clearly labeled bin — “Village base” — separate from the houses. When the whole landscape kit lives in one place, rebuilding next year takes an evening instead of a weekend, and the display gets better every year instead of starting over.
A Christmas village rewards the time you give it in a way few decorations do — it glows a little brighter each year as the collection grows and the styling gets surer. Start with your hero piece, build the landscape around it, and by December you’ll have the corner of the house everyone drifts toward after dinner.